Introduction
In this post I assume you have successfully set up an Arch VM, e.g. like in my last post.
The following is based on “General Recommendations” and various forum threads … :-D
In order to get a pretty GUI to interact with we will 1) set up the networking config for the VM and 2) select and install graphics drivers, display server, a desktop environment and a display manager. An outline of the second can also be found here with a range of options for common desktop environments and display managers to choose from.
Let’s dive in!
Setting up the network
Start up VirtualBox, select your VM and click “Start”.
Once Arch is booted up enter root and your password (you have one if you actively set one with passwd previously).
Once logged in as root, let’s test if we have internet acccess, before we can start installing our GUI tools by running
ping archlinux.org
Dang! DNS resolution error. Bummer! Let’s fix that! We need to configure our network and enable / start the relevant services. If you don’t have that error feel free to skip to the next section Graphics things below.
Let’s check the available devices using
ip link

I assume you have a loop and an ethernet device. The ethernet device should be something that starts with “en”, here enp0s3. If you don’t see the “UP” bits run as above run
ip link set enp0s3 up
(you may want to replace enp0s3 with whatever device name you see).
Now let’s enable required services. First get systemd-networkd.service going
systemctl enable systemd-networkd.service
systemctl start systemd-networkd.service
verify that it appears in the list list using
systemctl --type=service
Now let’s do the same for systemd-resolved.service
systemctl enable systemd-resolved.service
systemctl start systemd-resolved.service
verify again
systemctl --type=service
The next service we’d want to activate is systemd-networkd-wait-online.service. But this should fail immediately because nothing is configured yet, praise arch. For documentation on the relevant configuration pieces please see the docs.
For the VM let’s create a ethernet.network file ( crash course on vim)
vim /etc/systemd/network/20-ethernet.network
and sneakily copy the config from the iso that had a working internet connection. The config:
[Match]
Name=en*

[Link]
RequiredForOnline=routable

[Network]
DHCP=yes
MulticastDNS=yes

[DHCPv4]
RouteMetric=100

[IPv6AcceptRA]
RouteMetric=100
Now let’s get systemd-networkd-wait-online.service going using
systemctl enable systemd-networkd-wait-online.service
systemctl start systemd-networkd-wait-online.service
and again checking via systemctl --type=service.
Since we added / edited a config let’s restart systemd-networkd.service
systemctl restart systemd-networkd.service
Alright, let’s see what our ip route looks like
ip route

Good! And ping archlinux.org should show something like

The above setup should also be persistent. If you run reboot and log in again ping archlinux.org should still work. Now to what we actually wanted to have, pretty graphics!
Graphics things
For a guide with a range of graphic tool options check out this page.
Okay let’s go. First update pacman
pacman -Syyu
Graphics drivers
According to the docs we want to install virtualbox-guest-utils and activate vboxservice.service. So let’s run
pacman -S virtualbox-guest-utils
systemctl enable vboxservice.service
systemctl start vboxservice.service
Display server
To install the display server run
pacman -S xorg xterm xorg-xinit
To test xorg run
startx
you should see something like
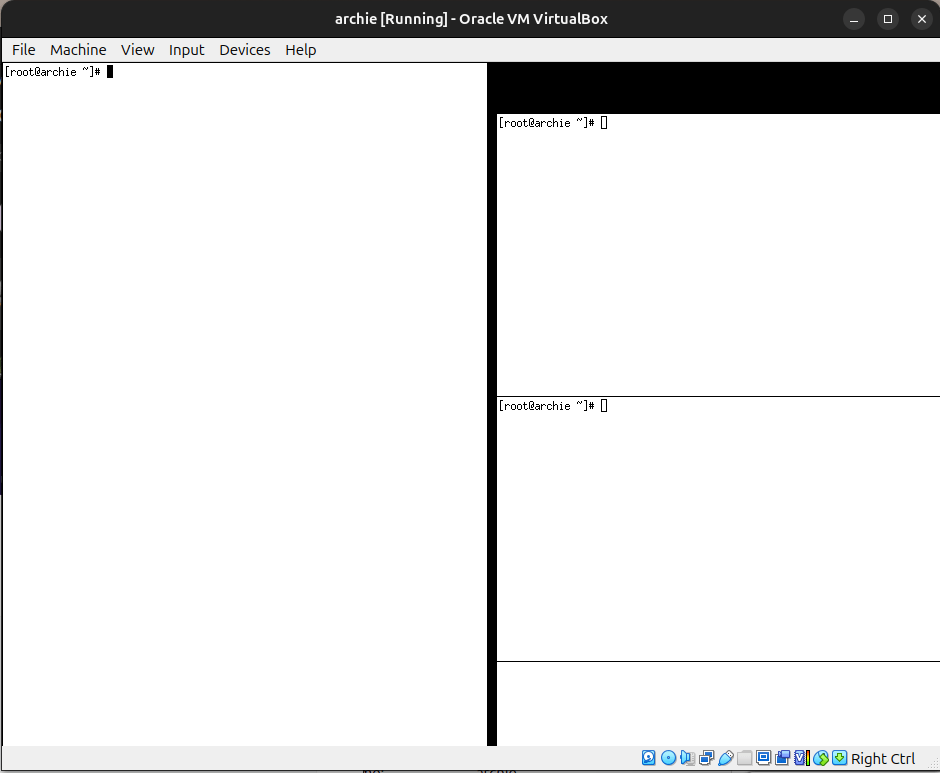
To leave this GUI run
exit
Desktop environment & manager
To install the gnome desktop environment run
pacman -S gnome gnome-extra
and for the gnome desktop manager
pacman -S gdm
systemctl enable gdm
systemctl start gdm
Now some sudden activity should be noticable and the view below should materialize in front of your very eyes
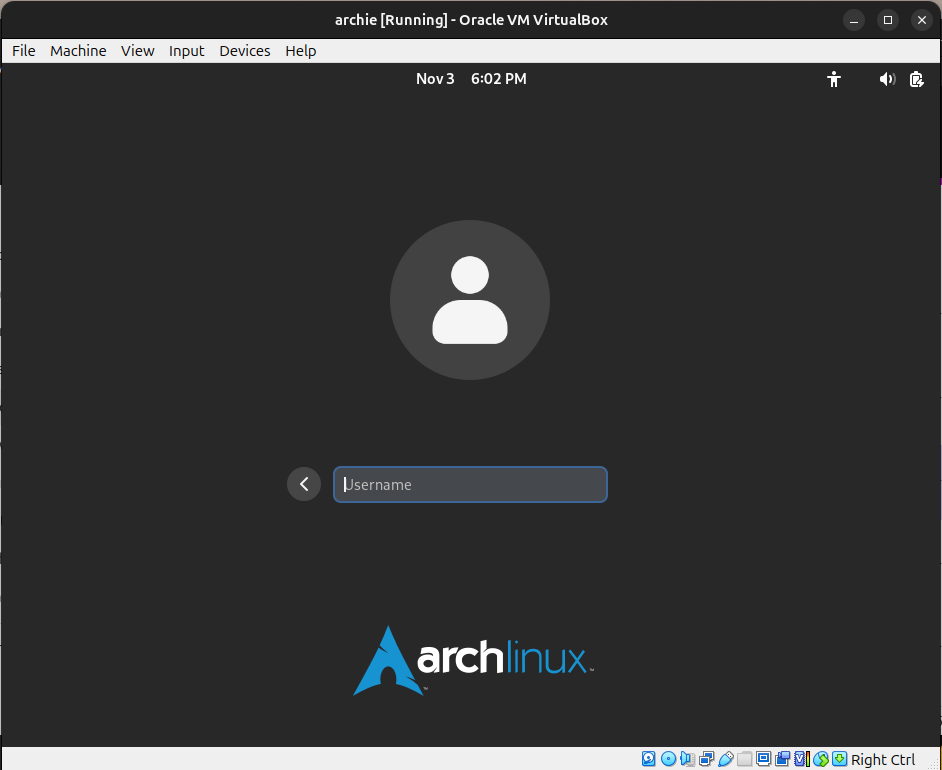
Here enter “root” and the password you’ve set before. Nice! Well done! :-)
If you want to add another user, e.g. bob, press “opt” / “windows” / “start” key and enter “terminal” in the search. In the terminal run
useradd -m bob
Logging out of the root user you should now be able to log into the user bob, without using any password. If you do want to set a password run passwd in the terminal. :-)
Conclusion
As Carl Sagan said, if you want pretty graphics you first have to configure networking.